A checkerboard floor is the fastest way to make a room feel like a party. Here’s exactly how to paint one, from sanding to sealing.
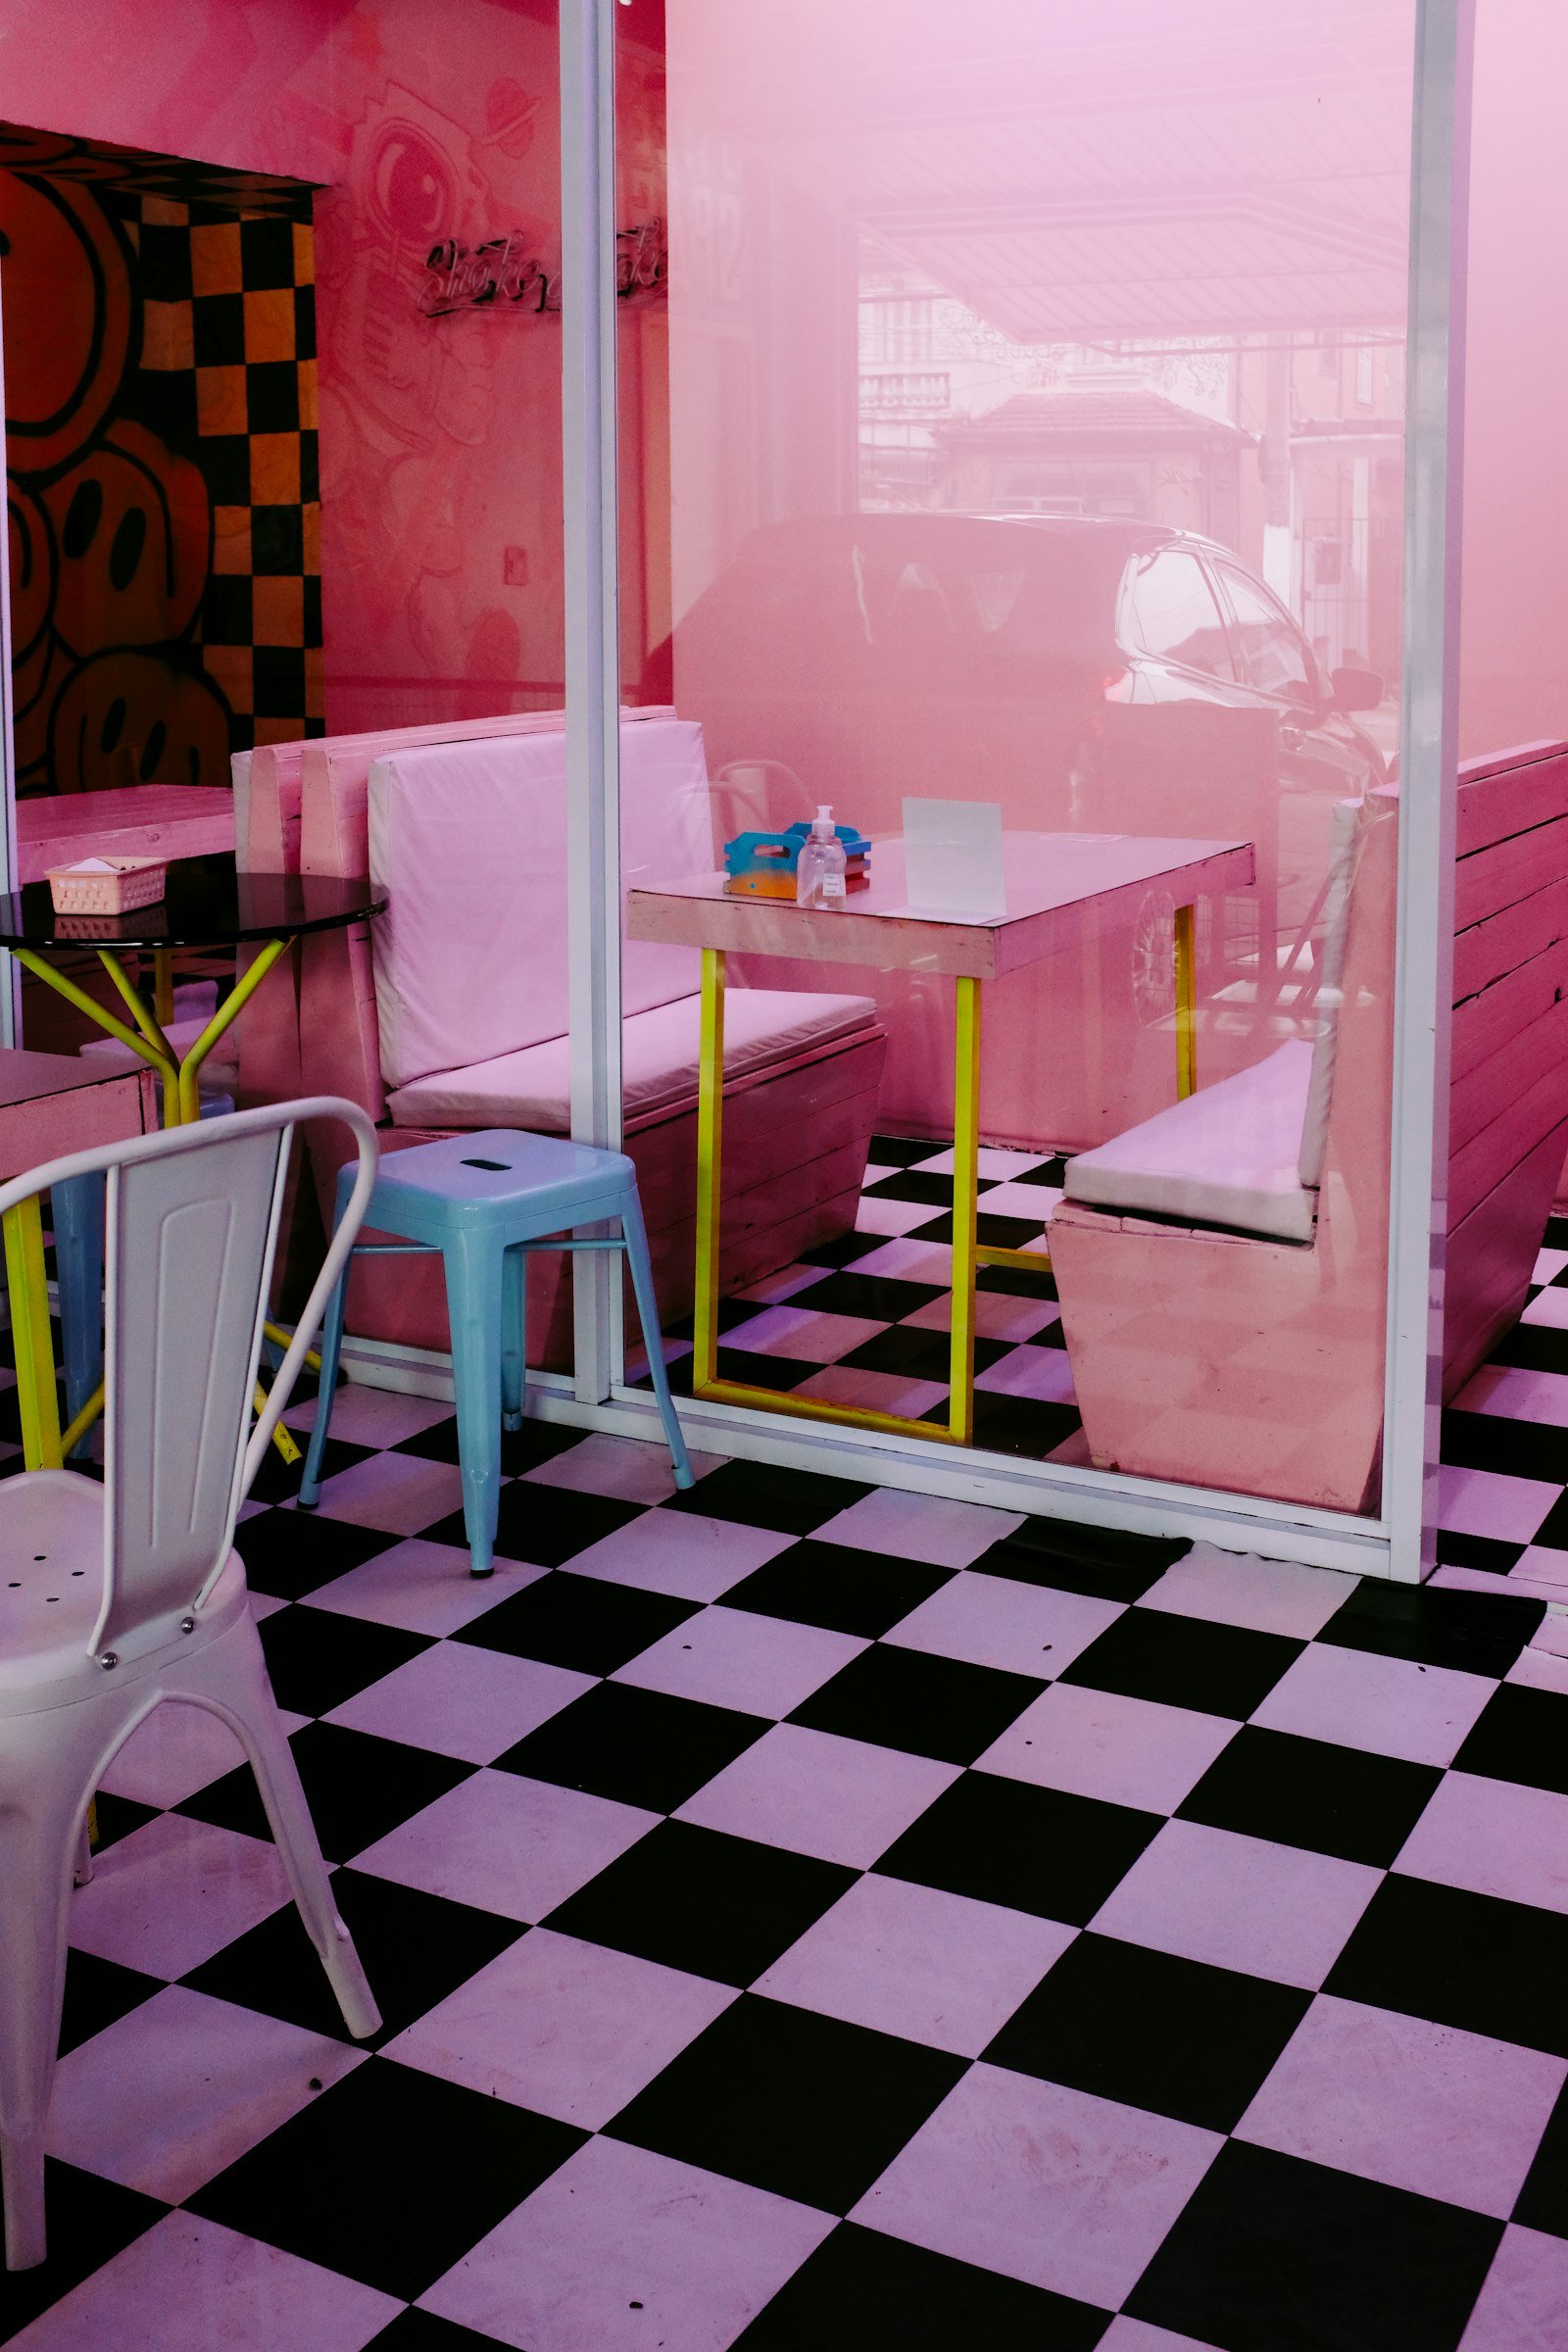
Nothing says “good things happen here” like a checkerboard floor. Black and white is classic; pink and red is pure joy. Either way, this is a project you can finish over a long weekend.
You’ll need
- Floor primer and a hard-wearing floor paint in two colours
- Sandpaper (120 grit), a vacuum and a damp cloth
- A tape measure, chalk line or laser level, and a pencil
- Low-tack painter’s tape (lots of it)
- A small roller, a mini roller tray and an angled brush
- Water-based polyurethane floor sealer
Step by step
- Prep: sand lightly, vacuum, wipe and let dry. Paint won’t stick to dust.
- Prime and base coat: prime, then roll your lighter colour over the whole floor. Two coats, fully dry.
- Plan the grid: find the centre of the room and snap chalk lines both ways. Work out from there so the cut squares at the edges are equal. 30–40 cm squares suit most rooms.
- Tape: tape the outside of every square you will paint. Mark those squares with a small pencil X so you don’t paint the wrong ones (ask me how I know).
- Paint the darker squares: two thin coats. Peel the tape while the second coat is still slightly wet for crisp lines.
- Seal: three coats of floor sealer, sanding lightly between coats once dry.
Cost and time
About €120 for a 12 m² room. Allow three days including drying time, and stay off it in socks only for another 48 hours.
Make it yours
Try pink and tomato red, mint and lilac, or turn the grid 45° for a diamond pattern that makes small rooms look wider.